Sparkly Christmas Tree
Watch Video of How to make this Christmas Tree Ornament Here! Designed By Julie A. Bolduc
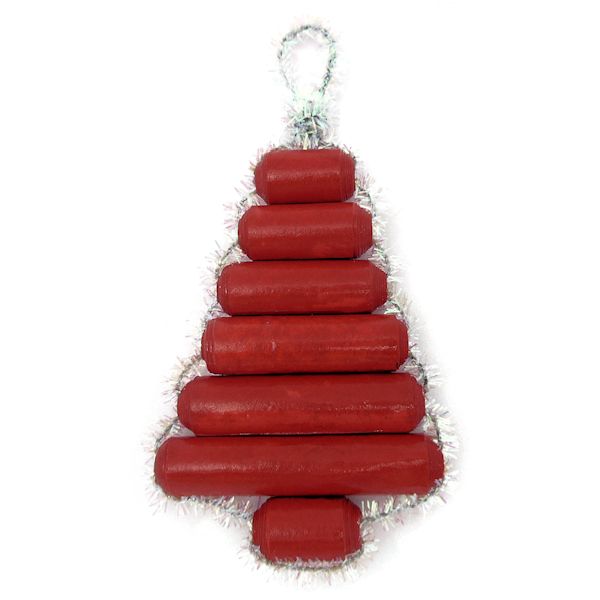
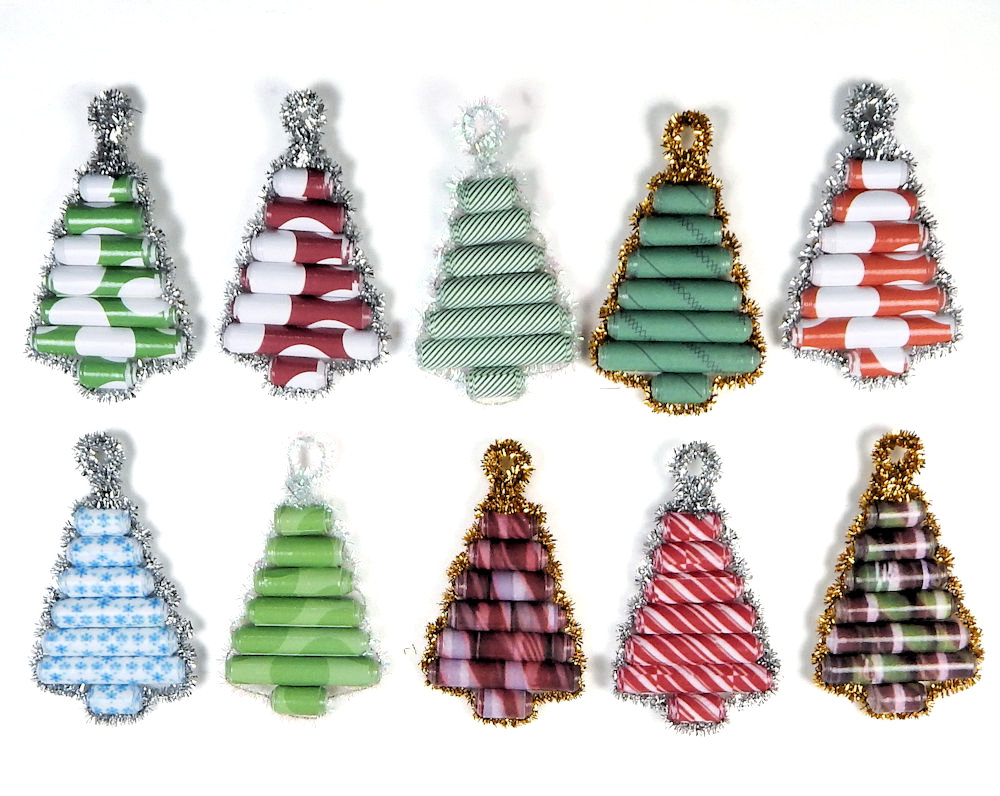
This little christmas tree ornament is made using the 3/16" adjustable length split pin paper bead rollers and card stock! It is fun to make and would probably sell well at a local craft fair! Don't be afraid to use what ever color card stock you want to use!
- Materials Needed For Each Ornament
- 1 Sheet 8-1/2" x 11" red card stock
- Printed Template for cutting the card stock pieces
- 3 Pieces Shimmer Fuzzy Sticks or other sparkly chenille stem 12" long
- Strong White glue
- paper bead glaze of choice
- Long 3/16" paper bead roller
- Short 3/16" paper bead roller
- Or Adjustable Length 3/16" paper bead roller
- Toothpick for applying glue to end of strips when rolling
Finished Size: 4-1/4" from top to bottom, 2" from side to side
Skill Level: Intermediate
Instructions
Step 1: Cut your card stock into the following sized pieces using our special template and your favorite cutting method. You will make the strips 8-1/2" long so cut across the card stock NOT down the length of it.
The following abbreviations I use are as follows. W for the Wide end of the strip, N for the Narrow end of the strip and L is for the Length of strip. A Template has been provided for you. They are marked with the sizes and the order in which they will be incorporated into your little tree.
- 2 pieces: 3/4"W x 1/2"N x 8-1/2"L
- 1 piece: 2"W x 1-3/4"N x 8-1/2"L
- 1 piece: 1-3/4"W x 1-1/2"N x 8-1/2"L
- 1 piece: 1-1/2"W x 1-1/4"N x 8-1/2"L
- 1 piece: 1-1/4"W x 1"N x 8-1/2"L
Step 2: Roll each strip up using the appropriate length 3/16" paper bead roller. Be careful not to get glue on the outside of your rolled up tubes. Make sure to center the narrow end over the wide end.
Step 3: Glaze the beads using your favorite method. I dip mine using the same method I use to glaze all of my paper beads. 4Coats PC-Petrifier and 1 Coat Janice Mae's' Vibrance. Watch the Glazing Paper Beads Video Here
Step 4: Prepare your chenille stem or fuzzy sticks by twisting the ends together to form one 3 foot long fuzzy stick.
Step 5: Insert one end into one of the 2 smallest sized beads. The one that is 3/4" long. Bring the bead to almost the center. Insert the other end of the stick into the hole on the other side of the bead so they are crossing each other. Pull both ends of the stick so you end up with a loop around the side of the bead and that this loop covered bead is centered in the fuzzy stick. Try to make sure the seam on the paper bead is either up or down so it is covered by the fuzzy stick. This is the trunk of the tree.
Step 6: Pick up the 2" long bead, this is the bottom of the tree, insert stick into hole and bring bead to first bead and lay the bead on top of the first one making sure the fuzzy stick is exposed on the bottom side of the 2" long bead. Center this bead on top of the trunk. Insert other end of fuzzy stick in the hole going the opposite way. Pull both ends of the fuzzy stick to tighten the 2" long bead to the short bead keeping the 2 beads centered to each other.
Step 7: Repeat for the next 5 beads graduating down in size as you go, so you end up with a length of fuzzy stick sticking out of either side of the other 3/4" bead at the top of the tree.

Step 8: Forming the loop: Tightly twist the 2 ends of the fuzzy stick together forming a single stick about 1-1/4" long. You should have 2 ends still unworked. Bend the single stem into a loop and wrap the 2 ends around the neck of the loop at the top of the tree going in opposite directions to lock the loop in place. Done! Attach an ornament hanger to the loop to hang on your tree!
Note about Template: Set your printer to print borderless and no margins when printing the template. The cutting lines for the template are spaced apart so there will be minimal waste. The spaces apart, when you cut following the dashed lines, will produce 7 strips about the same size that can be used for smaller beads. You can use these beads for what ever you want! You will want to print the template onto a piece of used copy paper and layer the copy paper on top of your card stock before cutting. You should be able to cut up to 3 sheets of card stock at one time with a guillotine paper cutter. The strips of copy paper, resulting from cutting, can be used in other projects or as waste beads when glazing your long beads for the tree ornament.
Design written on September 8, 2014. Copyright ©2014 By Julie A. Bolduc f201000

