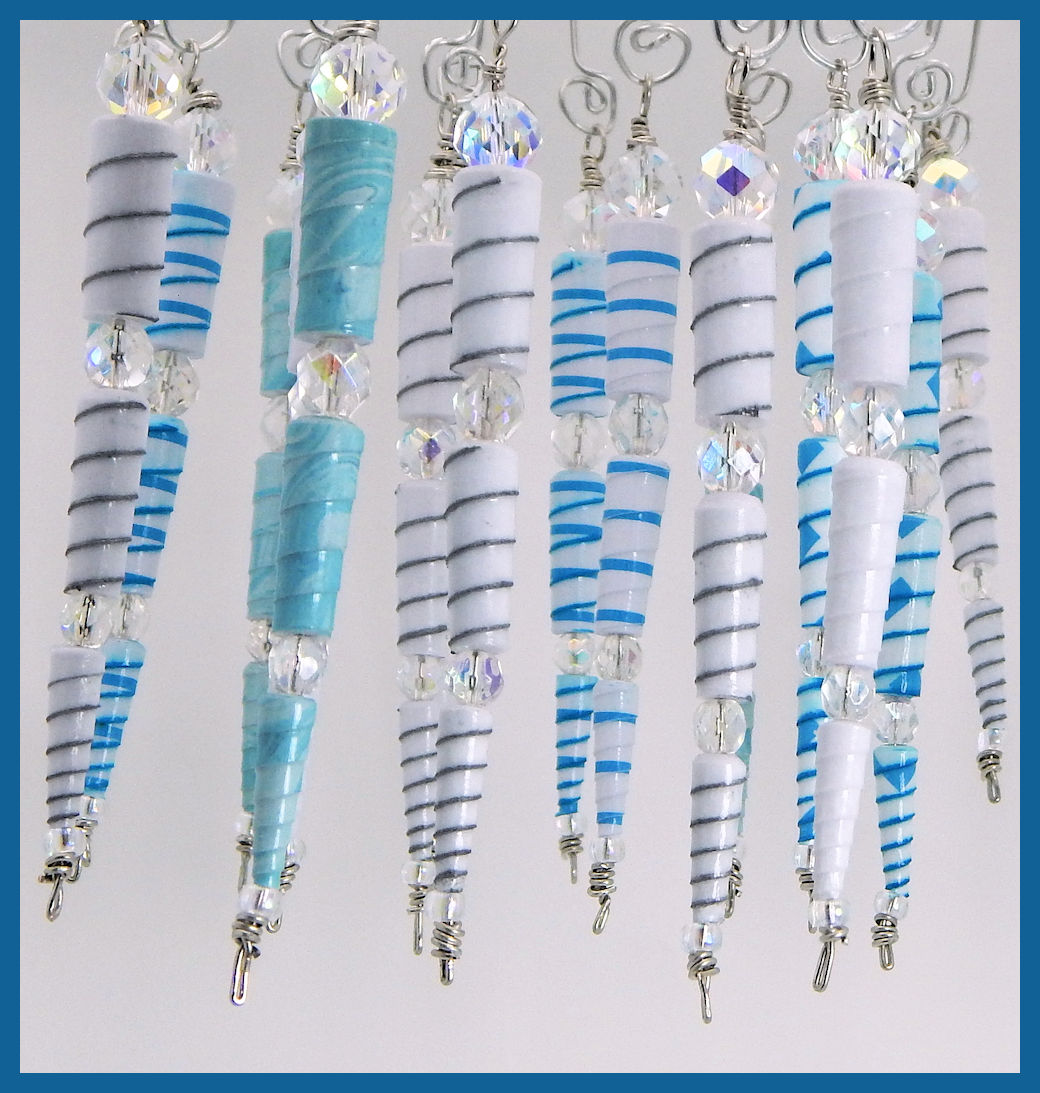
Paper Bead Icicle Ornaments

Designed By Julie A. Bolduc
These beaded icicles are made with paper beads and glass crystals. One sheet of card stock will make 6 icicles! They are fun to make and would be pretty on any Christmas Tree!
- Materials Needed For 6 Icicles
- Cutting Template, provided
- 8-1/2" x 11" 110lb Card Stock in color of choice
- Alcohol based markers for coloring card stock, optional
- Plain white glue or glue stick
- Paper Bead Glazing Materials
- 20 Gauge Wire, 8"
- 6 beads, 10mm Round Faceted Clear AB Glass Crystals
- 6 beads, 8mm Round Faceted Clear AB Glass Crystals
- 6 beads, 6mm Round Faceted Clear AB Glass Crystals
- 6 beads, 4mm Round Faceted Clear AB Glass Crystals or size 6/0 Clear AB seed beads
- 6 Ornament hangers of choice
- Tools Needed
- Size 1 or 5/64" paper bead roller.
- Paper Cutting Tools
- Bead Glazing Tools
- Wire Cutters
- Round Nose Pliers
- Square end Flat Nose Pliers
- Chain Nose Pliers
Finished Size: 4.25" x 3/8"
Skill Level: Beginner to Intermediate

Instructions
Step 1: Print Out and cut your template of strips using card stock and your cutting tools. If using a cutting machine, load your machine with your card stock and cut out your strips.
Step 2: Roll up your strips one at a time using your 5/6" paper bead roller. Start at the wide end and work toward the narrow end. You will have 3 paper beads per icicle.
Step 3: Glaze your beads using your favorite method. If you dip your beads while strung on fishing line, separate them using either perler beads or cut up coffee stirrers that are made like skinny straws.
Step 4: Once your beads are dry, it is time to assemble your icicles! Start with the pins. Make coiled head at one end of your wire. Bend one end of your 8" wire, 1-1/4" from the end. Squeeze the fold with your square flat nose pliers to close the fold. Wrap the short end around the fold to form a coil around the folded end. Use the square flat nose pliers to squeeze the coils together to make it neat. Trim the end to prevent scratching. Watch video on how I make the "Coiled Head"
Step 5: Start adding beads. Add your beads in the following way. 4mm or 6/0 Seed bead, smallest cone bead, making sure the narrow end rests on the seed bead. Add the 6mm round bead. Add the middle sized cone shaped bead. Add the 8mm round bead. Add the large cone shaped bead. Add the 10mm round bead. Make a wrapped loop at the top locking in the 10mm round bead.
Step 6: Add ornament hanger of choice.
Design written on Friday, October 9, 2015. Copyright ©2015 By Julie A. Bolduc f201005

