How to Make Pandora Style Beads
 Watch How to Make Pandora Style Paper Beads at YouTube!
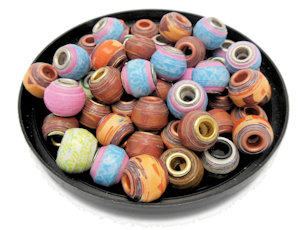
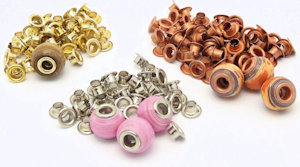
These beads were inspired by Pandora or European beads. The centers are made with basic 3/16" metal grommets that are available in a wide array of colors! You are not limited with using the expensive silver colored grommets that were made for making these types of beads.
The little black dish that the Little Pink Beads are in is a lid from a small plastic Folgers Coffee Can. I think it sets off the colors of the beads very nicely.
Introduction
On this page, you will learn how to make these beads from construction paper, scrapbook paper and plain copy paper.
I made these beads from construction paper and scrapbook paper but the concept and the method can be applied using any type of paper providing it is thick enough to get the desired over all diameter of the pandora beads.
There are cutting templates designed for the 8½" x 11" sheets of scrapbook or copy paper.
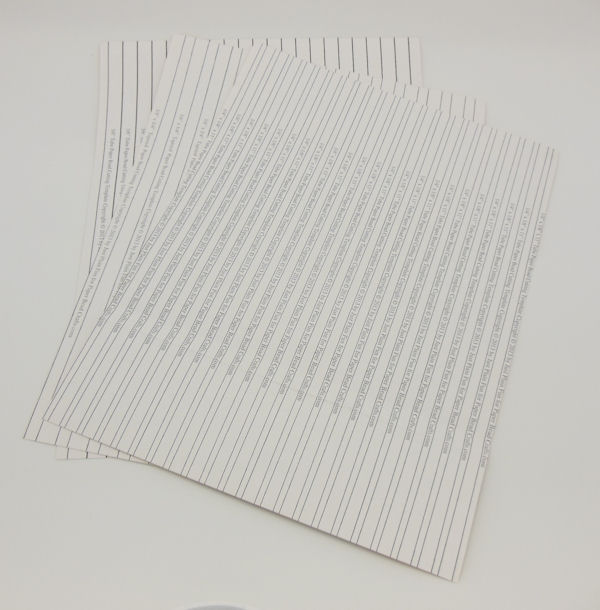
Download and Print The Cutting Templates
Each Pandora style paper bead uses 3 strips of 11" long paper. Each strip of paper is a different size.
You will need to download and use 3 cutting templates if you are using 8½" x 11" sheets of paper. You will need one tube style cutting template and 2 different reducing tapered bead templates.
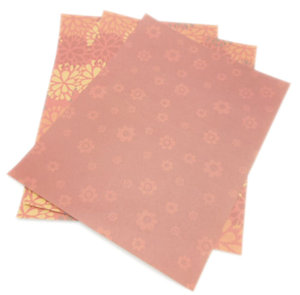
You will need 3 sheets of paper as well. The paper you use for the plain tube bead should be a coordinating color but not one that actually would normally make a good looking bead since all you will see of it may be a tiny bit of the edge that may peek from behind the metal grommet you are using. The other 2 sheets of paper can either be the same print or 2 different prints, it is up to you. This is where you can be creative. Just make sure all of your papers are the same exact size and thickness.
Below Are Links to the Full Page Cutting Templates, in PDF format, you can use to make these beads!Download Links
Cut the Paper Into Strips
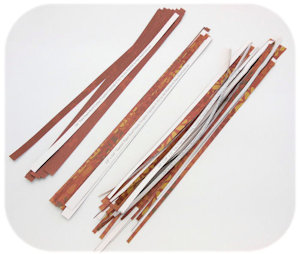
Each Pandora style paper bead uses 3 strips of 11" long paper. You can cut them with what ever cutting method works best for you. I used a combination of my guillotine paper cutter and rotary paper cutter and cutting mat. You can use scissors as well.
- 1 Tube Style Strip: 3/8" x 3/8" x 11"
The strip at the center of the bead will be a straight cut or tube style. This will make the core of the bead. You should be able to get 21 or 22 strips from one sheet of paper.
The other 2 strips reduce down in size as you get to the outside of the bead.
- 1 Tapered Style Strip: 3/8" x ¼" x 11"
The 2nd strip fits on the end of the first strip and is the same width, 3/8". This second strip tapers down to ¼" wide. You will get more of these strips from one sheet of paper than the tube style strips. - 1 Tapered Style Strip: ¼" x 1/8" x 11"
The 3rd and final strip starts at ¼" and fits on the end of the 2nd strip and tapers down to 1/8" wide. You will get many more of this size strip from one sheet of paper than either of the other 2 strip sizes.
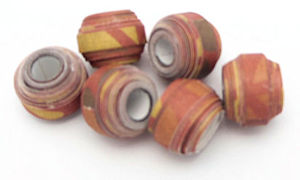
When you glue these end to end and roll them up on your 3/16" paper bead roller, you will end up with a short fat bead with a 3/16" diameter hole.
Another way you can layer the paper, is to roll the strips on to your roller one at a time, butting the next strip next to the previous strip to end up with a smoother transition between strips.
If you want to use other paper than scrapbook paper, keep the thickness of the paper in mind. Thicker paper will result in even fatter beads and thinner paper will result in a skinnier bead. If you want the same fat beads as I have made and if you use copy paper, generally copy paper is not as thick as scrapbook paper and will you will need to cut 2 strips that are 3/8" tube style for the center core.
Don't throw away your extra strips, make regular paper beads with them!
Glue Together and Roll Up Your Strips
Glue your strips end to end, before rolling them up, in the following order. Match up the same size ends together and overlap them about ¼" and use plain white glue to glue them together. Make sure the colorful side is on the same side with all 3 strips. You should end up with one very long strip, about 33" long.
You can also roll the the strips one at a time and butt each subsequent strip up to the previous one for a smoother bead.
- 1 Tube Style Strip: 3/8" x 3/8" x 11"
- 1 Tapered Style Strip: 3/8" x ¼" x 11"
- 1 Tapered Style Strip: ¼" x 1/8" x 11"
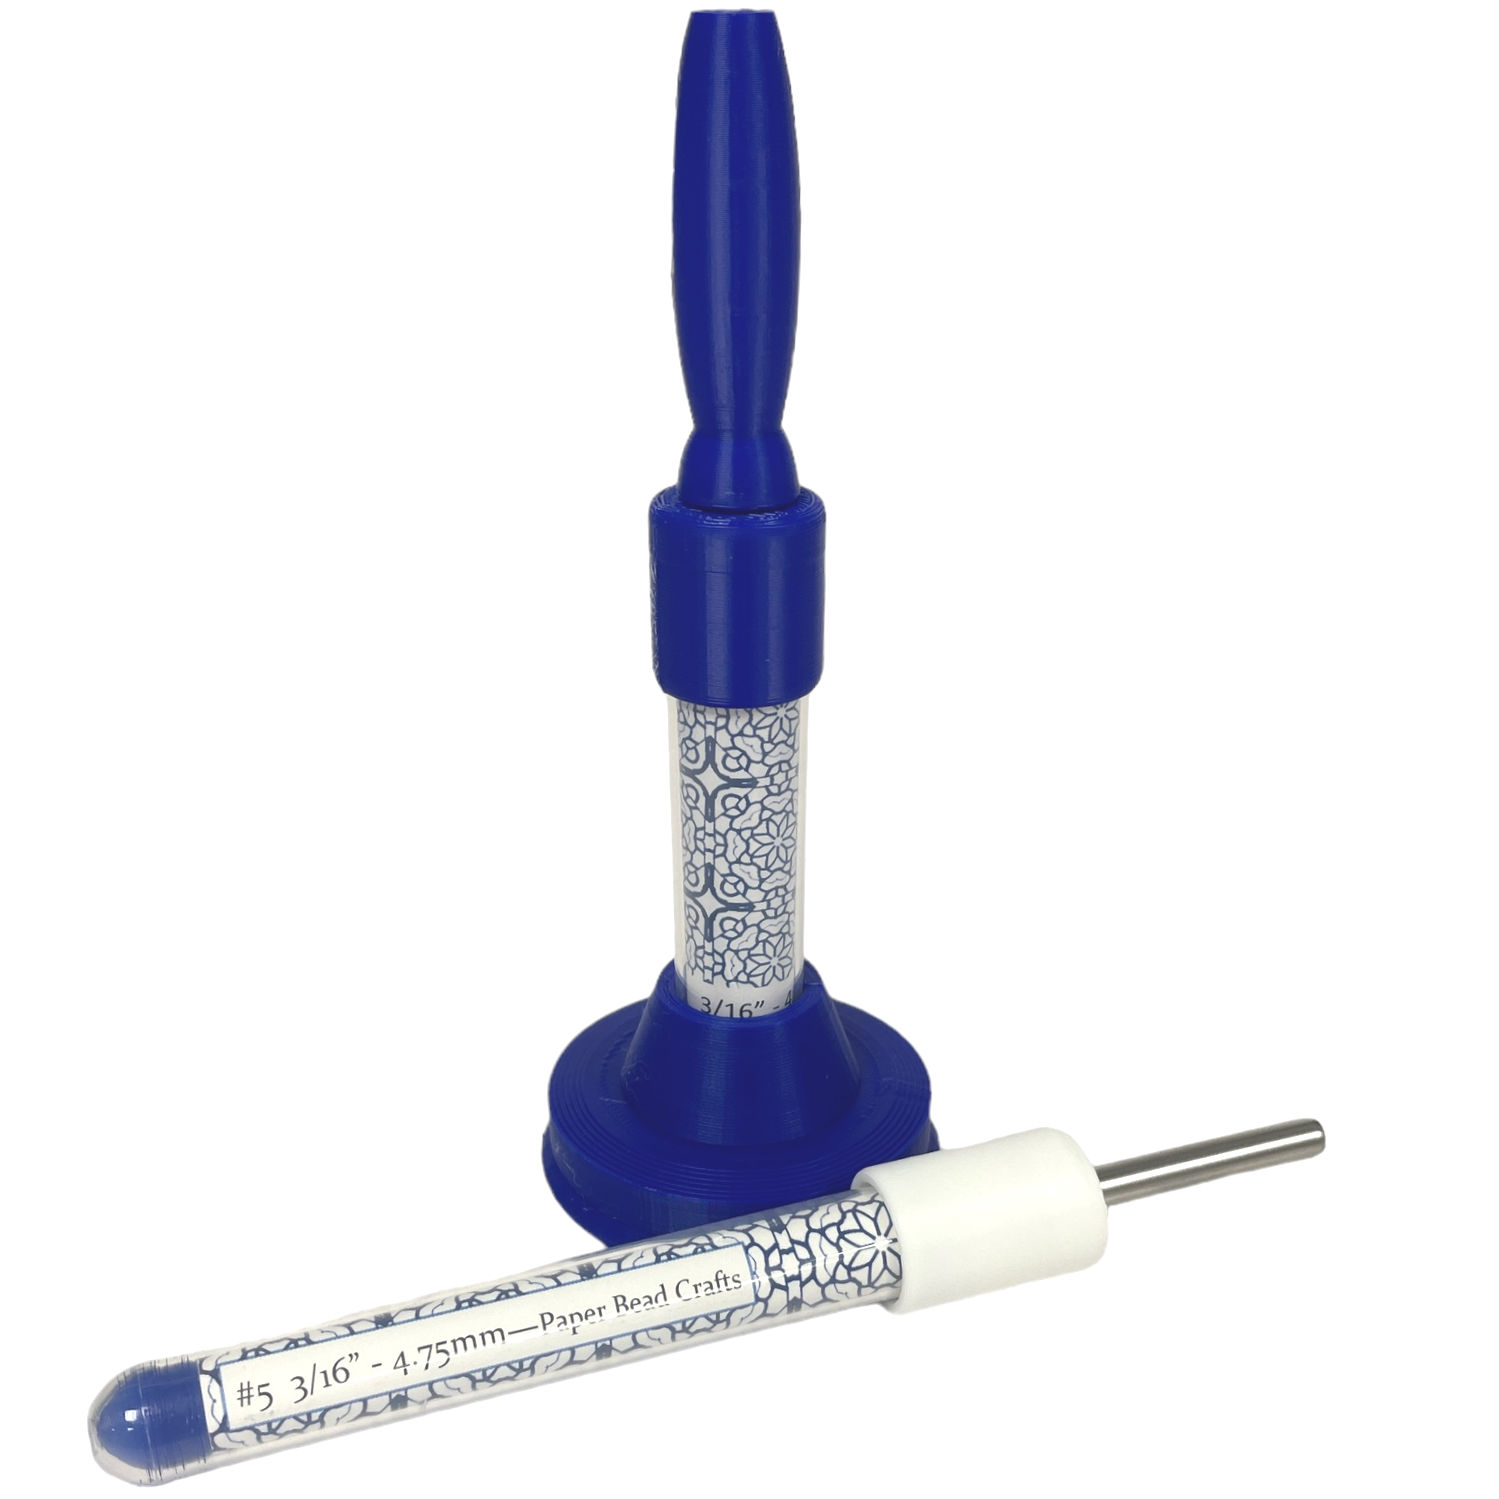
Roll them up starting at the wide end to the narrow end using your 3/16" Paper Bead Roller That comes with the 3/16" Eyelet Setter.
Glaze Your Large Hole Paper Beads
You can glaze your beads with your favorite glaze but I use PC-Petrifier and Liquid Laminate or Vibrance for all of my beads. It produces a hard finish that does not get sticky when humid outside.
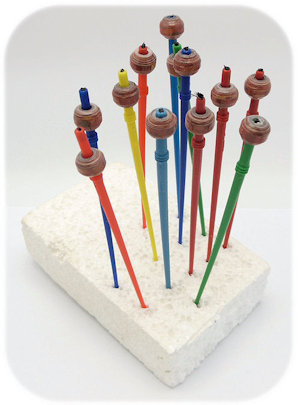
In the picture, you can see I use a styrofoam block to stick my sticks in but since the holes in these beads are so big, I cannot use toothpicks to support my beads. Instead I am using the top of small craft brushes with the brush end cut off to hold my beads. I don't like to throw these used paint brushes away and I go through a lot of them. (I know string them onto fishing line and dip my beads instead of glazing them the way I did when I first wrote this tutorial.)
I brush the glaze onto each bead one at a time with the little craft brushes that you see in the picture. Each bead has 2 coats of glaze on them. I brush on one layer from top to bottom, then turn the bead over after it has dried and brush on the glaze on the other side from top to bottom. When the tops and bottoms are and sides are dry, I do glaze the inside as well.
If you want to, you can make your own drying picks. Get 3 or 4 36" long dowels that are slightly bigger than 3/16" in diameter, cut them into 4" long pieces and using a variable size pencil sharpener, sharpen both ends of each stick to a sharp point. You should be able to get 8 or 9 picks from each 3 foot long dowel.
Finish Your Pandora Style Paper Beads
Now it is time to finish your Pandora Style Paper Beads!
Materials Needed:
2 3/16" metal grommets for each bead in the color of your choice. They are really not that expensive.
Super glue. I use Gorilla Gel Super Glue.
A small plastic lid
1 toothpick for applying super glue
Step 1: Put a small blob of the super glue onto the plastic lid.
Step 2: Using the toothpick, dip the toothpick in the glue and then swirl it inside the hole of one of your beads.
Step 3: Insert the grommet inside the hole where the glue is. Repeat for the other side of the bead. Allow to dry a few hours before using.
WARNING NOTE:If you try to put the dab of glue directly in the hole without using the toothpick, you run the risk of getting the glue onto your fingers and this super glue is very strong and fast! You could damage your skin! Follow the safety precautions on the bottle's label.
Here are just a few samples of what you can do with these beads.
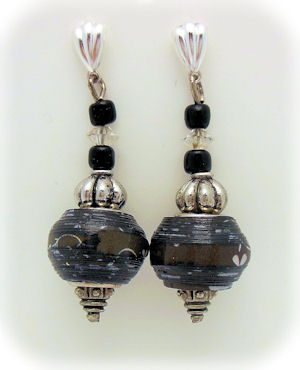
These beads were made with black construction paper as the core. I did not use the cutting templates when I made these beads. The black paper is made with black 11" long strips of scrapbook paper.
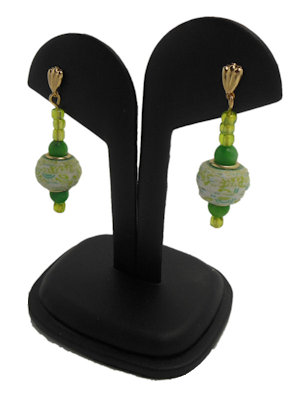
The core of these beads is green construction paper and it has 2 strips of 12" long scrapbook paper.
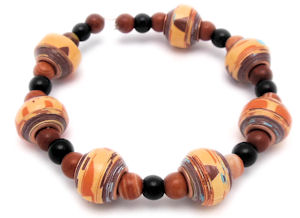
The beads in this bracelet were made with 3 strips of 12" long scrapbook paper. I did not use cutting templates to cut the strips. The small beads are 6mm round beads in black glass and brown agate.

