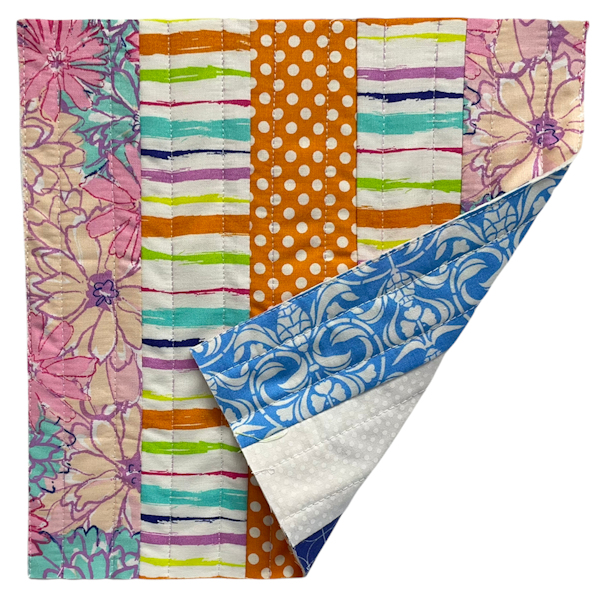
Five Strip Rail Fence Block

Using the Kouché Method formerly the Quilt as You Piece Method
This is the first quilt block tutorial in a series on how to make quilt blocks using the Kouché Method formerly the Quilt as You Piece Method. This tutorial is not about making a quilt, it is about making the "Quilt as You Piece" block that you can add to the type of quilt where the blocks are joined after they are made, quilted then joined to other blocks. Like a Quilt as You Go Quilt. The size of the block I am making for this tutorial is a 10" x 10" block but I have provided a size chart for blocks that range from 4" to 14" in finished size. The measurements for the cut size can be rounded up to the next 1/8" to allow for variances while you work.
This tutorial is the one you want to follow for the basic concept and instructions on how to do Quilt as You Piece for all other blocks in this series.
Materials Needed
- For each block, you will need:
- 10 Strips Fabric, 2.5" x 11" desired colors & prints
- 4 Strips Cotton Batting, 2.25" x 11"
- 1 Strip Cotton Batting, 2.5" x 11"
- Cotton Sewing thread in neutral color, 50wt preferred.
- Washable Liquid Glue
- Washable Glue Stick
Tools Needed
- These are the tools I used. Use what you have.
- Rotary Cutter & Cutting Mat
- Pair of Fabric Scissors
- Temporary Marking Device
- 18"x3" quilt ruler
- 10.5"x10.5" Square Ruler
- Dry Iron & Pressing Board
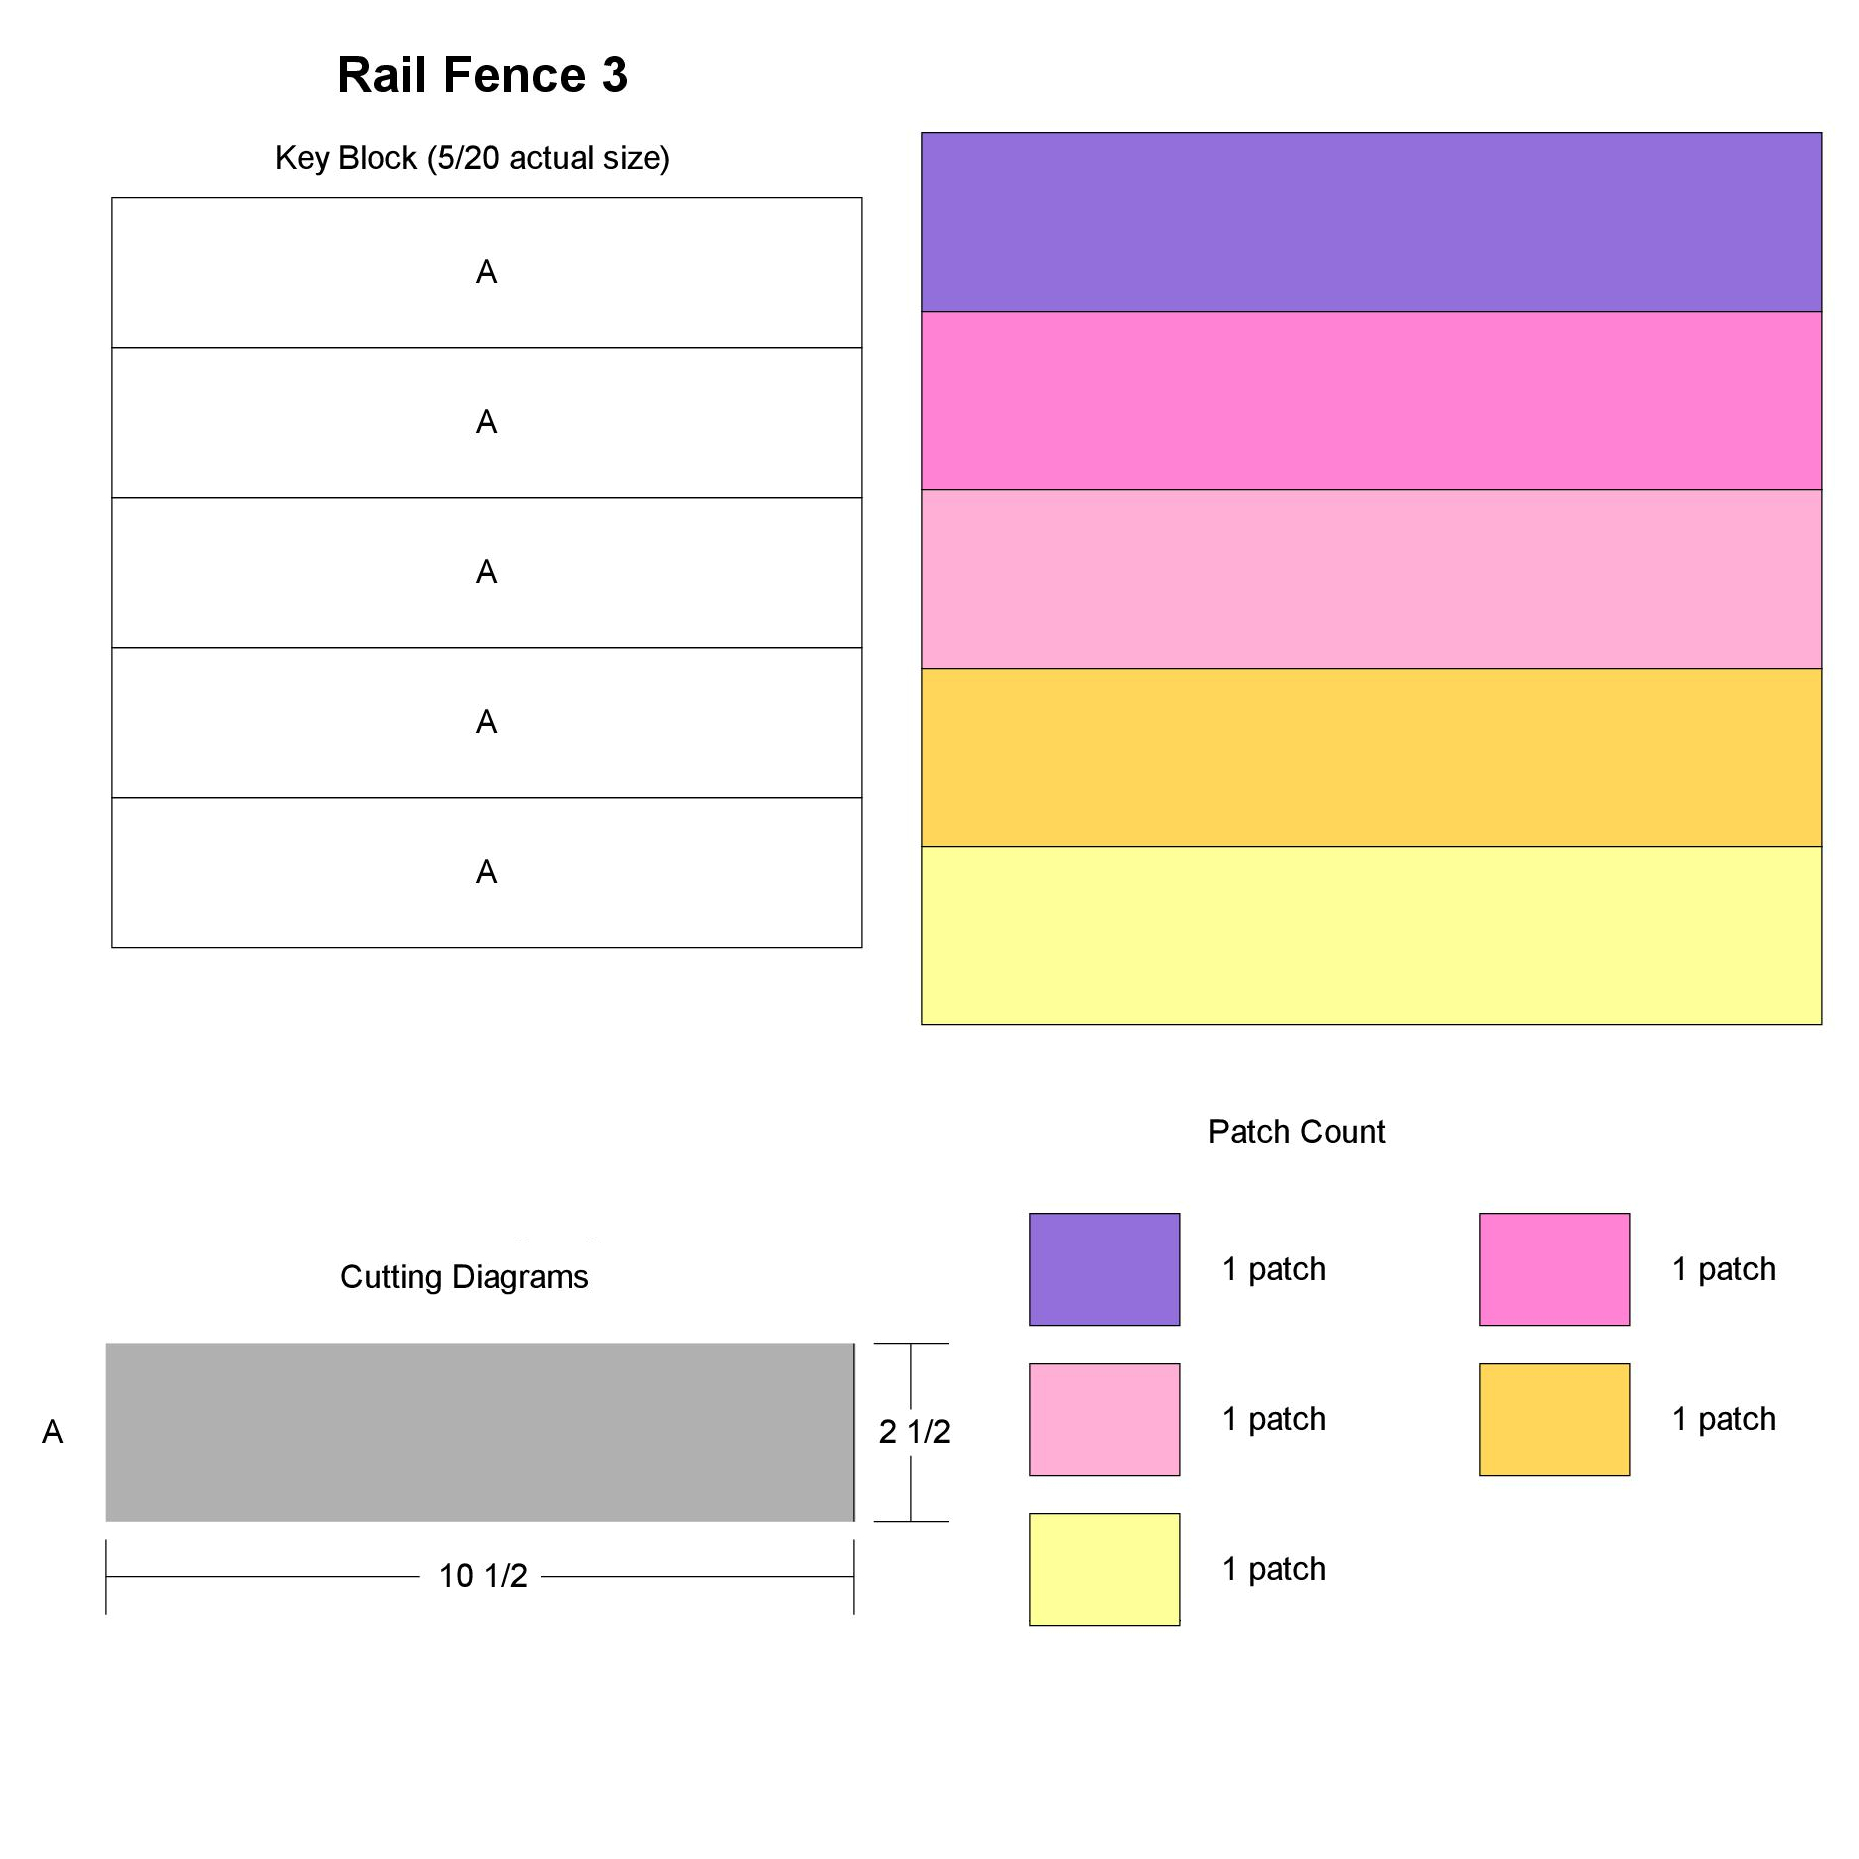
Ignore the colors of the block on this page and the order they are in. Just use what you want, in the order you want. The block on this page is only a guide for how it is put together.
I am using all 2½" strips for my block since that is the easiest to use. I am also using a roll of 2.5" and 2.25" cotton batting. You can use scraps of batting you have or cut from a large piece of batting the sizes you will need. One thing to keep in mind. All of the batting scraps you use, have to be of the same content, loft and same brand. I recommend cutting your batting pieces about 1/2" longer than you actually need to allow for shifting while stitching. You can trim it up later.
Your batting and fabric strips can be longer than they need to be but since this technique includes the use of adhesives, and I am using 2.5" fabric strips, I have to make sure I work as accurately as I can. There will be 2 different ways of building your rail fence block in this tutorial. From the center strip out and from one end to the other.
The ProcessFirst of all, before you start sewing, cut all of your pieces out. Follow the diagram for measurments. You will need 5 strips of fabric for each side and 5 strips of batting for each block. When I am making this block, I aways start with strips longer than I need them to be so I can trim them down at the end. So make sure to add an Inch to the length of your strips of fabric and batting to ensure accurate measurements at the very end when it is time to trim your block down to 10.5".
From the Center Out The Center of the BlockStep 1: Cut all of your fabric pieces the same size following the diagram. You will need 10 pieces in all for one block. 5 for the front and 5 for the back.
Step 2: Cut 1 batting strip that is 2.5" x 11" long and 4 at 2.25" x 11" long.
Step 3: Make a sandwich of 1 fabric strip, the 2.25" batting strip and 1 fabric strip. Make sure the wrong sides of the fabric are facing the batting strip. Bast in place using your favorite method. I like to use a glue stick on my fabric strips. Iron the fabric to the batting strip.
Step 4: Run 2 quilting lines about an inch part down the center of the length of the sandwich. You can quilt this however you want. Run a line of basting stitches, an 1/8" in from the edge, all around the perimeter of this center strip. This will make it easier to add the next strips and keep the batting in place.
Adding First 2 Outer Strips.Step 5: Lay one strip on top of the long edge, right sides facing each other, using washable school glue, run a series of dots of blue spaced about 3/4"" apart along the seam line inside the seam allowance and set with an iron. Turn work over and add back side piece to the same seam in the same way. Run a scant 1/4" seam through all 5 layers at the same time.
Step 6: Set the seam with your iron. Flip open your fabric and tug lightly to release any stuck fabric because of the glue. Repeat for the other side. Lay the fabrics back down.
Add the BattingStep 7: Attach a strip of batting to the edge of the seam using a zig zag stitch. Your settings should be set to your widest stitch possible and your length of your stitch should be set to 3.5-4.0.
Step 8: Apply glue stick to the fabric you stitched on earlier and fold this fabric so it lies on top of the batting just added and press into place.
Step 9: Repeat steps 5-8 for the other long edge.
Quilting These 2 Strips.Step 10:Run quilting lines about an inch apart starting at about 1/2" away from the seam lines on both strips you just added and run a stay stitching line an 1/8" away from the outer edge as well.
Step 11:
At this point, your block should be more than 10.5" long and 6.5" wide. Trim the width of the 3 strips across so they are 6.5" wide total making sure to center the center strip before trimming. Do not trim the length of the block yet. Do that at the end.
Added Final 2 StripsStep 12: Repeat Steps 5-10 for the last 2 added strips to end up with 5 strips across.
Step 13:After you are done with these final two strips, Trim your block so it is 10.5" x 10.5".
From one End to the OtherBasically, you work the same way as you did with the "From the Center Out" instructions, but just work only from one side edge, instead of both edges, from the first strip adding each strip as you go but make sure to trim the width after each addition of each strip. 2.5, 4.5", 6.5", 8.5", 10.5"


