Glitzy Bracelet

Designed By Julie A. Bolduc
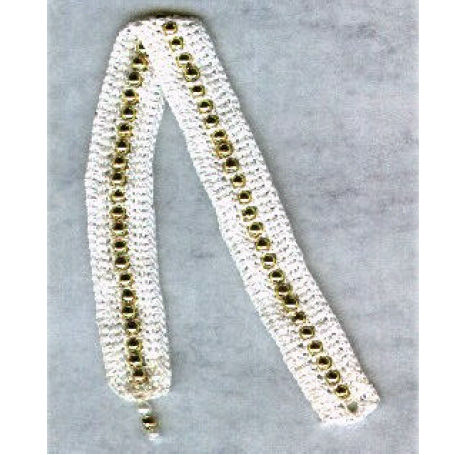
Christmas would not be complete without a little bit of gold. So I put this little bracelet together to put the sparkle in the holiday. This is an oversized bracelet and fits really loosely.
Materials Needed:
Small amount size 20 crochet cotton. Cebelia in white was used.
Size 11 steel crochet hook
49 - - 4mm gold colored round beads
1 - - 4mm white pearl bead
1 - - 3mm white pearl bead
Fine tapestry needle
Yarn Thickness: 10thread
Gauge: 12dc=1"
Finished Size: =9"x¾"
Skill Level: Intermediate

Instructions
ROW 1: Ch 103. Dc in 4th ch from hook and in each ch across. Ch3, turn.
ROW 2: Dc in next dc. Ch1. *Sk next dc. Dc in next dc. Ch1. Rep from * across to the last dc and the ch3. Work a dc in the last dc and in top of ch3. Ch3, turn.
ROW 3: Dc in next dc. *Dc in next ch. (Not in the space but in the ch. ) Dc in next dc. Rep from* across. Dc in last dc and in top of ch3. Do not fasten off.


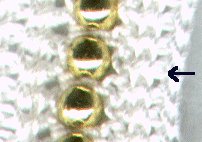
Here you will be working a surface slip stich on row 1 and row 3. Work a surface slst on each post of each dc across row 3. Sc across the edge to row 1 and repeat as for surface slst of row 3. See picture close up for how this should look. (the one with the arrow) I have explained how to do a surface slst on the tub purse and the bath bag. You will do this same surface slst across these rows. When you get to the edge. Sc across the edge on the end dc.
Beading You will be sewing the beads on where the filet part of the bracelet is. Row 2.
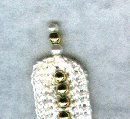
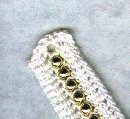
Starting at the opposite end of the button hole, weave in the crochet thread into the back of the work and making the thread come out of the center of the edge. String on the 4mm pearl, one gold bead and the small pearl. Bring the thread over the small pearl and back through the other two beads and then weave the thread back into the bracelet to secure the beads in place. This is the "button". See detail as to how this should look. *Weave thread to the center of the next dc post and push your needle through the post then put a bead on it and insert your needle in the next post. Your bead should fit right between the posts. Rep from * across to the other end until you use up all of your beads. Weave ends into work and fasten off.
To wear bracelet, push the "button" through the button hole.
Designed on Friday, November 13, 1998. Copyright © 1998 by Julie A. Bolduc p107009

