
Chenille Bump Stitch
This is a stitch that I made up on my own. It may exist already but I have never seen it before. See note below. It is made up of a progressive series of chs and dcs. That resemble the chenille bumps of the chenille stems that you can get in craft stores hence the name.
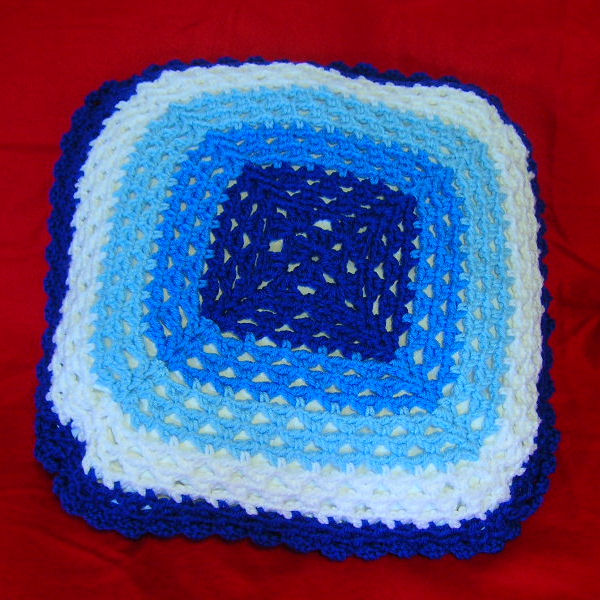
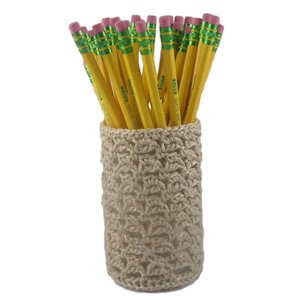
It can be used to make sampler squares, dishcloths, sweaters, afghans, placemats or any pattern that is done in rows. It can be added to motifs as well but not as the starting round.

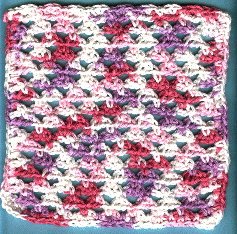
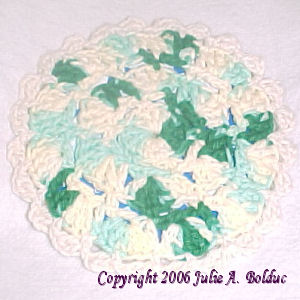
Sample of Chenille Bump

Suggested materials
Worsted Weight--For afghans sweaters & sampler squares.
Worsted Weight cotton--for dishcloths, sweaters, placemats.
Sport & Baby yarns--For afghans, & layettes.
Crochet Threads---motifs, placemats, doilies done in rows.
Suggested Hooks
For WW Yarns F,G,H,I,J
For Sport & Baby Yarns D,E,F
For threads Use what ever size hook is recommended for the size thread you are using. Steel works best of course.
This stitch does not start with the traditional row of chains. Instead each row is made up of a series of the stitches done up progressively.
Row 1: Ch 3, *dc in 3rd ch from hook, ch 3. Repeat from * for as many "bumps" as indicated in pattern. Then turn, make sure the ch3's are at the top of the row. This is what you will crochet on throughout the project.
Row 2: *Ch3, dc in 3rd ch from hook, Sc in center of ch3 of next bump. See picture for detail as to where to place the hook. Rep from * across. Ch2, sc in last ch which is actually the very first ch you made at the very beginning of project. Turn.
Row 3: This is the pattern row. *Ch3, dc in 3rd ch from hook, sc in center of ch3 of next bump. Rep from * accross ending with a sc in last bump. Turn. Repeat this row throughout project.
This produces a delicate looking edge all the way around. You may want to add a row of sc all the way around. If you do, make sure you work (2 sc, ch1, 2 sc) in eachcorner, 2 sc in each row on the left and right sides and 2 sc in each bump on the bottom and top.
I am not sure if this stitch existed before I "made it up" but I assure you, I did not get this stitch from any book that I have or have borrowed througout my life. If any of you have seen this stitch before, please let me know. I am not going to claim it as my own until I know for sure if it is mine.
All items in our online shop ship free within the US only. I currently offer U.S. shipping only and it is from rural Maine. Delivery can vary from 2–14 days depending on your distance from Maine. Expedited shipping is not available.
Please note: I am now selling all of my paper bead making tools and other items from this web site using Paypal payments.
I have removed all of my paper bead making tools from Amazon. My Kindle crochet pattern books and paper template paperback books continue to be available on Amazon, as they are printed and fulfilled directly by Amazon. A limited number of paper bead making tools remain available on Etsy but I am not linking to those tools from this site.
Random Quick Tip!
Cute Gift Bag WrapperUse one of the bag patterns, on the site, as a gift wrapper and put something wonderful inside. Then the recipient will have two gifts in one!