
Checker Stitch
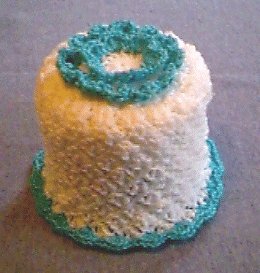
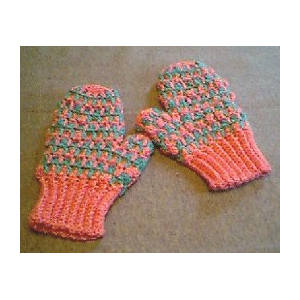
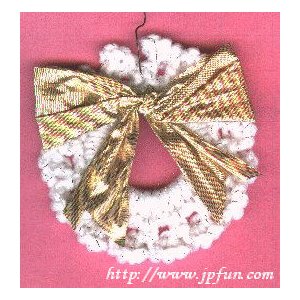
This stitch is called the checker stitch. It can be used along with other stitches in a pattern whether working in rows or in rounds. It can also be used as a very attractive eding on a project. Examples of each application of use are in the above patterns for the mittens and Bath tissue cover and wreath ornament.
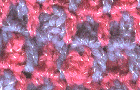
Checker Stitch (ckr)
The basic instructions are:
Sc in stitch indicated, while keeping loop on hook, insert hook in same st, yo, and ch3. Yo, pull through both lps on hook, then while keeping the first lp on hook. Pull up a lp in each
of the 3 chs, then yo and pull yarn through all 4 lps on hook. Ch1.
As an edging.
Start with an even number of stitches or spaces around project such as an
afghan, handkerchief or tablecloth etc...
Ckr in first st. Ch2. *Sk next st. Ckr in next st. Ch2. Rep from * as needed for project. Join w/slst to first sc of first ckr.
All items in our online shop ship free within the US only. I currently offer U.S. shipping only and it is from rural Maine. Delivery can vary from 2–14 days depending on your distance from Maine. Expedited shipping is not available.
Please note: I am now selling all of my paper bead making tools and other items from this web site using Paypal payments.
I have removed all of my paper bead making tools from Amazon. My Kindle crochet pattern books and paper template paperback books continue to be available on Amazon, as they are printed and fulfilled directly by Amazon. If you would like to shop my Etsy Store, follow the link in the header above.
Random Quick Tip!
Pretty Gift TagsThe holidays are approaching faster than you think. Get out your old Christmas cards and cut them into circles and squares and punch 1/8" holes around the outside edge and crochet an edging on them using basic sc and picots. These make attractive gift tags and can be used on the recipients Christmas trees in the future. If you get really ambitious, you can cut two cards exactly the same, put the wrong sides together, punch the holes together then start to crochet the two together but when you get within the last inch or so, stuff the inside with any type of stuffing then continue crocheting until it is closed. This will make a 3D type of ornament. You may even want to use basic cookie cutters to make the shapes. This is also a fun thing to get the kids involved in doing.