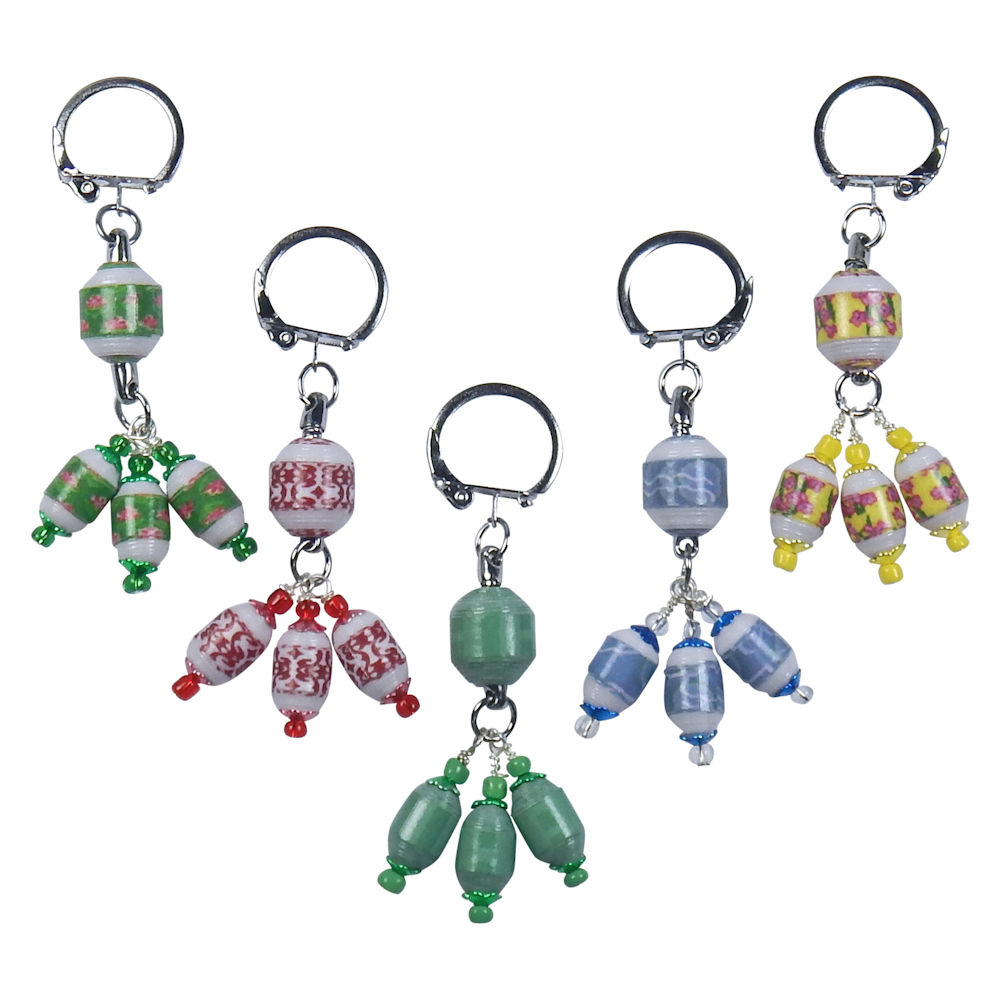
Paper Bead Dangles Key Chain

Designed By Julie A. Bolduc
This key chain is made with one large hole bead at the top with 3 matching beaded dangle charms. It is fun to make and would make a great craft fair item. The downloadable pdf file also includes a free printable template to make the beads.
- Materials Needed Makes 3 key chains
- One sheet card stock, 110lb index weight or similar 8-1/2" x 11"
- Cutting Template: 5/8" x 1/4" x 11"
- Bead Glazing Supplies
- Dangle Type Key Chain Findings. 1 for each key chain
- 2" silver colored head pins, 3 for each key chain
- E-Beads, 4mm round or size 6/0 seed beads to match colors. 6 for each key chain
- 6mm End Caps, optional, 6 for each key chain. I bought mine as part of a stretch bracelet from Fire Mountain Gems. The stretch bracelet was made completely with just these end caps and nothing else in a variety of colors.
- Tools Needed
- Paper Cutting Tools, you can use what ever you want to cut your strips.
- 5/64" and 3/16" short paper bead rollers
- Bead Glazing Tools
- Wire Cutters
- Needle Nose Pliers
- Flat Nose or Chain Nose pliers or both
Finished Size: About 3-1/2" long
Skill Level: Intermediate
Instructions
Step 1: Using your template and your favorite cutting method, cut your strips so they are the following size. 11" long. 5/8" at the wide end, 1/4" at the narrow end. If you want your beads to look like mine, I used the Variable Taper in Landscape orientation Settings in the Bead Sheet Designer program to print onto my white card stock. You can also use pre printed card stock as well for a more solid look.
Step 2: You will be using 5 strips total for each key chain. 2 for the large bead and one for each of the smaller beads. To make the larger beads, layer 2 strips togther and glue them together at the wide end lining them up so one is directly on top of the other. Set them aside to dry. Roll the smaller beads with your 5/64" paper bead roller making sure they are centered. Roll the layered strips with the 3/16" paper bead roller to form the large hole bead.
Step 3: Glaze your beads using your favorite method. I chose to dip my beads strung on 50lb fishing line. 2 coats of PC-Petrifier and 2 Coats of Liquid Laminate. You can use what ever works best for you.
Assembly Once all of your beads are completely dry, it is time to assemble your key chains.Step 4: Make 3 charms using your head pins for each key chain. Place your beads on a head pin in the following order. Seed bead, end cap, paper bead, end cap, seed bead. To close it, make a wrapped loop.
Step 5: Take the large jump ring off of the bottom of your key chain finding and set aside. You will put it back in a minute. Place one large bead on the dangle part of the key chain. Place the large jump ring back onto the bottom of your key chain finding and before closing, put the 3 charms you just made onto the large jump ring and close it back up. Make sure when you open and close the jump ring, you twist it open and closed. Do not pull it out to open it. It will weaken the metal and possibly cause it to break. Repeat this for each key chain you are making.
Design written on November 1, 2015. Copyright ©2015 By Julie A. Bolduc f206009

