Applique Paper Beads
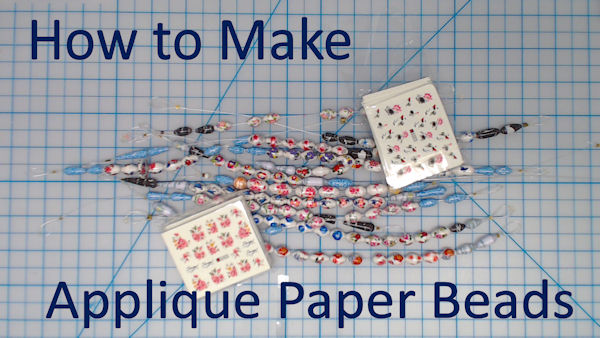
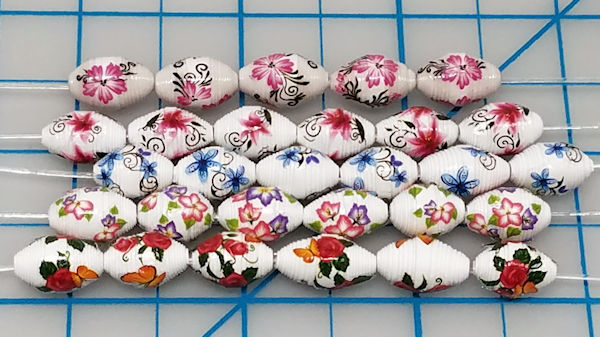
Learn how you can make applique paper beads that look like ceramic or porcelain beads that have flowers and other designs painted on them after the bead is made. You can use either *Water Tranfer Decals* or *Self Adhesive* decals! *All Product Links are Amazon Affiliate Links*
Watch the Video Here!
- Materials Needed
- Plain White 110lb index weight cardstock in white for best results.
- Paper Bead Template, size of your choice, optional. I used 1/2" x 1/8" x 8.5" strips
- Extra scrap paper to make waste beads if not using template paper.
- *Water Transfer Nail Art Designs*
- Small amount of water
- White Glue for gluing bead as you go.
- Glaze of your choice for glazing rolled beads. I use 4 coats *PC-Petrifier*.
- Tools Needed
- Tools for cutting your cardstock into strips
- Paper Bead Roller, your choice of size hole. I used 5/64"
- Toothpick or needle tool to use to apply glue to strip as you roll
- Small container to keep your beads in until they are all rolled.
- Small bottle for holding water.
- Small dish to pour water into for dipping the decals into.
- Small nose Tweezers - important
- Small nose scissors- important
- Paper Bead Drying Rack and supplies to go with it: ie-50lb fishing line, 2mm crimp beads, needle nose pliers

- Cut your cardstock into strips first.
- Layer your cutting template on top of your white cardstock. You are going to use this template for your waste beads once they are cut. Clip them together on the opposite side of where you will start cutting the cardstock into strips. Using the template does 2 things for you. It prevents unwanted, ugly, marks on your finished beads and it gives you paper strips for your waste beads, when you glaze them.
- Following the cutting lines, cut your cardstock into strips and separate the template strips from your cardstock strips.
- Roll your Waste Beads
- Using a 5/64" bead roller, roll the template strips into waste beads and set them aside.
- Making your Applique Paper Beads
- Pick up one strip, have your glue ready, start rolling your strip and apply glue to your strip as you roll. Normally I would instruct you to only glue the end down but you don't want the rolled bead to shift on you once the applique is on your bead. Roll slowly to keep your strip centered. I use a needle to tool to apply my plain white glue on the strip. I don't use glue stick but you could if you wanted to.
- Once the bead is rolled. Prepare your water decal applique. Follow the water transfer part of the instructions for applying your little nail decals. If you don't have instructions, with your decals, follow the steps below.
NOTE: Make each bead one at a time, applying your appliques as you finish rolling each bead. Do not take the bead off of your bead roller until the appliques are on your bead.
- Water Transfer Instructions
- Pour water into a small shallow dish. Use just enough to dip a very small piece of paper into it. I use about 2 tsps of water at a time. I use a teabag holder to put my water in. It's shallow and easy to work with.
- Pull the protective plastic layer off of your decal sheet. Cut a decal out of your decal sheet, cutting very close to the image itself. Leave a space on one edge so you have a place to hold while sliding off the image from your transfer paper.
- Drop the cut out decal, face down, in the water and let it soak for up to 30 seconds. You want to completely saturate the backing paper.
- With the narrow nose tweezers, pick up the decal, place it in your non dominant hand with the image facing up. Then with your dominant hand, hold the tweezers closed and use them to slide the image off of the backer just a bit, just enough so you can lift it off the rest of the way with your tweezers.
- Lay the image on your bead, face up, and with your finger, smooth it down on your bead, slightly burnishing it with your fingertip so it will stay. There is an adhesive on the back side of the decal so it should stick.
- Repeat these steps for each decal until you have the desired number of decals on your bead.
- Take your bead off of your bead roller and repeat for the rest of your strips.
Watch the video so you can see me actually doing these next steps if the instructions are not clear enough.
- Glaze Your Beads
- Cut a piece of fishing line the same lenth as the clearance height you have in your bead drying rack or what ever space you have where you will hang your beads.
- Make a loop at one end of your fishing line securing it with a 2mm crimp bead.
- Add one or 2 waste beads at this first end of your fishing line. Normally I would not use waste beads, I would accept the fact that the bead at each end would not be usable because of the excess drips into the hole but since I am only able to get 5 or 6 beads from each small sheet of decals, I use waste beads at each end to make sure the holes in my pretty beads are clean all the way through.
- String on your pretty applique beads, then one or 2 more waste beads at the other end.
- Make another crimped loop at the end so you can invert your strands after each dip.
- Dip your beads 2 times into PC-Petrifier and 2 times into Vibrance to glaze your beads. Allow your strands of beads to dry one hour between dips. After each dip, invert your strands and break apart the beads, they will be stuck together. Allow your beads to dry overnight, after the last dip, before you use them for making jewelry.
When you are finished rolling your beads, you will want to glaze them to protect them. I glaze my beads by dipping them. Follow the steps below to glaze these beads.
NOTE: On November 13, 2024, I looked for Janice Mae's Vibrance and could not find any. So, 4 coats of PC Petrifier is what I will use from now on to coat my beads. It does produce a shiny and hard finish that will not make the beads stick to each other in storage. I have done as many as 12 coats before and they worked out great!

