Designing Patterns
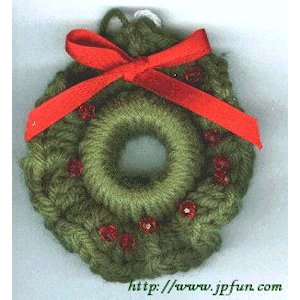
On this page you will find information on how I go about designing crochet patterns. This is what I would do if I was just starting out. The very first pattern I designed was the Tape Core Wreath ornament that is on this site. Get the Free Pattern and Read More about this Wreath Here.

The first Christmas after I got married, I took my favorite one off of my Mom's tree for my own tree. That first year, I made all of my own Christmas ornaments for my tree and to this day, I still think it was the prettiest tree I ever had. It was a real spruce tree full of crocheted ornaments, little colored lights, silver and gold garland. I didn't put any tinsel strands on it because I had a cat and a baby by that time.
First of all you want to start with something small, like a scrunchie, ornament or a granny square. You should also know all of the abbreviations as well. You should also be familiar with all the basic stitches like single crochet(sc), half double crochet(hdc), double crochet(dc), treble crochet(tr) etc...Once you have those mastered then you are on your way to being able to design patterns.
You should also be familiar with stitch gauge. So you can determine how big a finished object will be when it is finished. You should know which hooks work best with the different yarns and threads also. For example Size G, H, and I work best with one strand of Worsted Weight and all three hooks produce a different size when using the same yarn.
You should also know the basic construction techniques such as decreasing, increasing, weaving in the ends, changing colors.
If you know all of this then it is time to study how other designers have written out their patterns and use their example when writing your own. I use a notebook when I design patterns. As I crochet, when I am happy with the result of what I just crocheted, I write down what I just did. If I am not, I rip it over and over again if I have to until I am happy with it. I try not to write any step down until I am happy with the way it worked out and then I set the work down and write it in the notebook. I use a pen when I write things in the book so it will last but when you are just starting out, I would use a pencil so you can erase mistakes as you go.
Go for broke and don't be afraid of frogging (ripit ripit ripit). It is part of the learning process and we all do it. I hope this helps in your future design efforts. Good luck.
Designing Filet Patterns
There are a couple of ways to design filet patterns, either with a sheet of graphpaper & a pencil, or with your computer and a Cross Stitch program. Each bar on the chart represents one stitch in the mesh of the filet. Each space bet the bars represents open mesh between the bars and can be filled in according to where the spaces are filled in on the chart. So each space can represent either one or two stitches depending on how wide you want your foundation mesh to be. You can design the filet in either dc mesh or tr mesh.
One thing to remember, for each space in the chart that does not have any marks in it you must ch either one or two chains depending how wide you are making your foundation mesh. When you are reading a chart, the design you are looking at is the right side of the work so you need to read the chart on the even rows, from left to right.
To make your foundation mesh wider, skip two chains instead of one. When deciding how many chains you need to get started for the wider mesh, count how many squares you have in your chart and count one stitch for each bar and either one or two sts for each space between the bars. Or a multiple of 3+1 chs.
For example in a standard mesh, if you have a graph which is 10 squares wide. You will have 11 bars. So the total chains you will need to start with is 21 chs + 4 for the starting ch and first dc in the next row.
If you are making a wider mesh, with the same graph as the standard mesh, you will need 11 sts for the bars + 2x10 sts for the space between each bar, +4 or 5 stitches for the turning ch & first dc or tr respectively in next row. For a total of 36 chs for wide mesh.
When you are working the next rows in the standard mesh, fill in the mesh with one dc in the skipped ch for each filled-in-square on the chart.
When working with wide mesh, fill in the spaces with one st between the bars in each of the 2 chs that were skipped.

