
Front Back Bobble
I am not sure if this stitch existed before. It seems to me I have seen it some place but I cannot recall where so I cannot claim it to be my own.
The Long name I give it is the Front & Back Bobble because it is worked in the front lp then the back lp of each st.

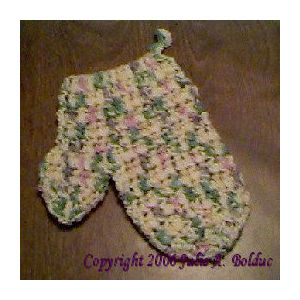
Sample of Front Back Bobble



*Yo, insert hook in back lp of next st, draw up a lp, yo and draw through 2 lps on hook, yo, insert hook in front lp of same st from the inside to the front, not from the front of the stitch. Yo draw up a lp, yo draw through 2 lps on hook,* yo and draw through all 3 lps on hook. This completes the stitch.
(inc)
How to increase using this stitch.
Work the above instructions twice in the same two lps of the same stitch.
(dec)
How to decrease using this stitch.
Rep the above directions bet **. Then Insert hook in next st through both lps and draw up a lp. Then yo and draw through 2 lps on hook, yo and draw through all 3 lps on hook.
Suggested materials
Worsted Weight--For afghans sweaters & sampler squares.
Worsted Weight cotton--for dishcloths, sweaters, placemats.
Sport & Baby yarns--For afghans, & layettes.
Crochet Threads---motifs, placemats, doilies done in rows.
Suggested Hooks
For WW Yarns F,G,H,I,J
For Sport & Baby Yarns D,E,F
For threads Use what ever size hook is recommended for the size thread you are using. Steel works best of course.
Copyright© 1998 by Julie A. Bolduc
All items in our online shop ship free within the US only. I currently offer U.S. shipping only and it is from rural Maine. Delivery can vary from 2–14 days depending on your distance from Maine. Expedited shipping is not available.
Please note: I am now selling all of my paper bead making tools and other items from this web site using Paypal payments.
I have removed all of my paper bead making tools from Amazon. My Kindle crochet pattern books and paper template paperback books continue to be available on Amazon, as they are printed and fulfilled directly by Amazon. If you would like to shop my Etsy Store, follow the link in the header above.
Random Quick Tip!
Coat the inside of Paper Beads.To coat the inside of paper beads, without letting them stick to everything. After you are done glazing the outside of the beads, thread a 6-8 inch piece of worsted weight yarn, (or yarn that will completely fill the hole, when doubled up), onto a needle that will fit inside the glazed and dried beads, dip the yarn, being careful not to get the needle wet, pass the wet yarn through the bead coating the inside only. If the glaze is on the outside of the hole, just wipe it off on a piece of paper towel. Set the bead aside to allow to dry.